
Instructions for installing Wilson Tree Tubes
1) Remember, all Wilson (Tubex) Tree Tubes are meant for use with small seedling trees (6 to 36 inches in height), or even direct seeded acorns, chestnuts, walnuts, etc. So to answer your first question, you can – and in cases of severe deer browse you should – put a 5ft or 6ft Tubex Tree Tube on a 6 inch seedling or planted nut.
Yes, the tube is supposed to be taller than the seedling! The seedling with (quickly!) grow up through the tube and out the top.
2) Prune the tree seedling to a single stem. This might seem severe, and it might seem like you are cutting off much if not most of the tree. But your trees will grow faster and with better form if you first prune them to a single stem before applying the tree tubes.
3) Drive the support stake approximately 1.5″ away from the base of the seedling.

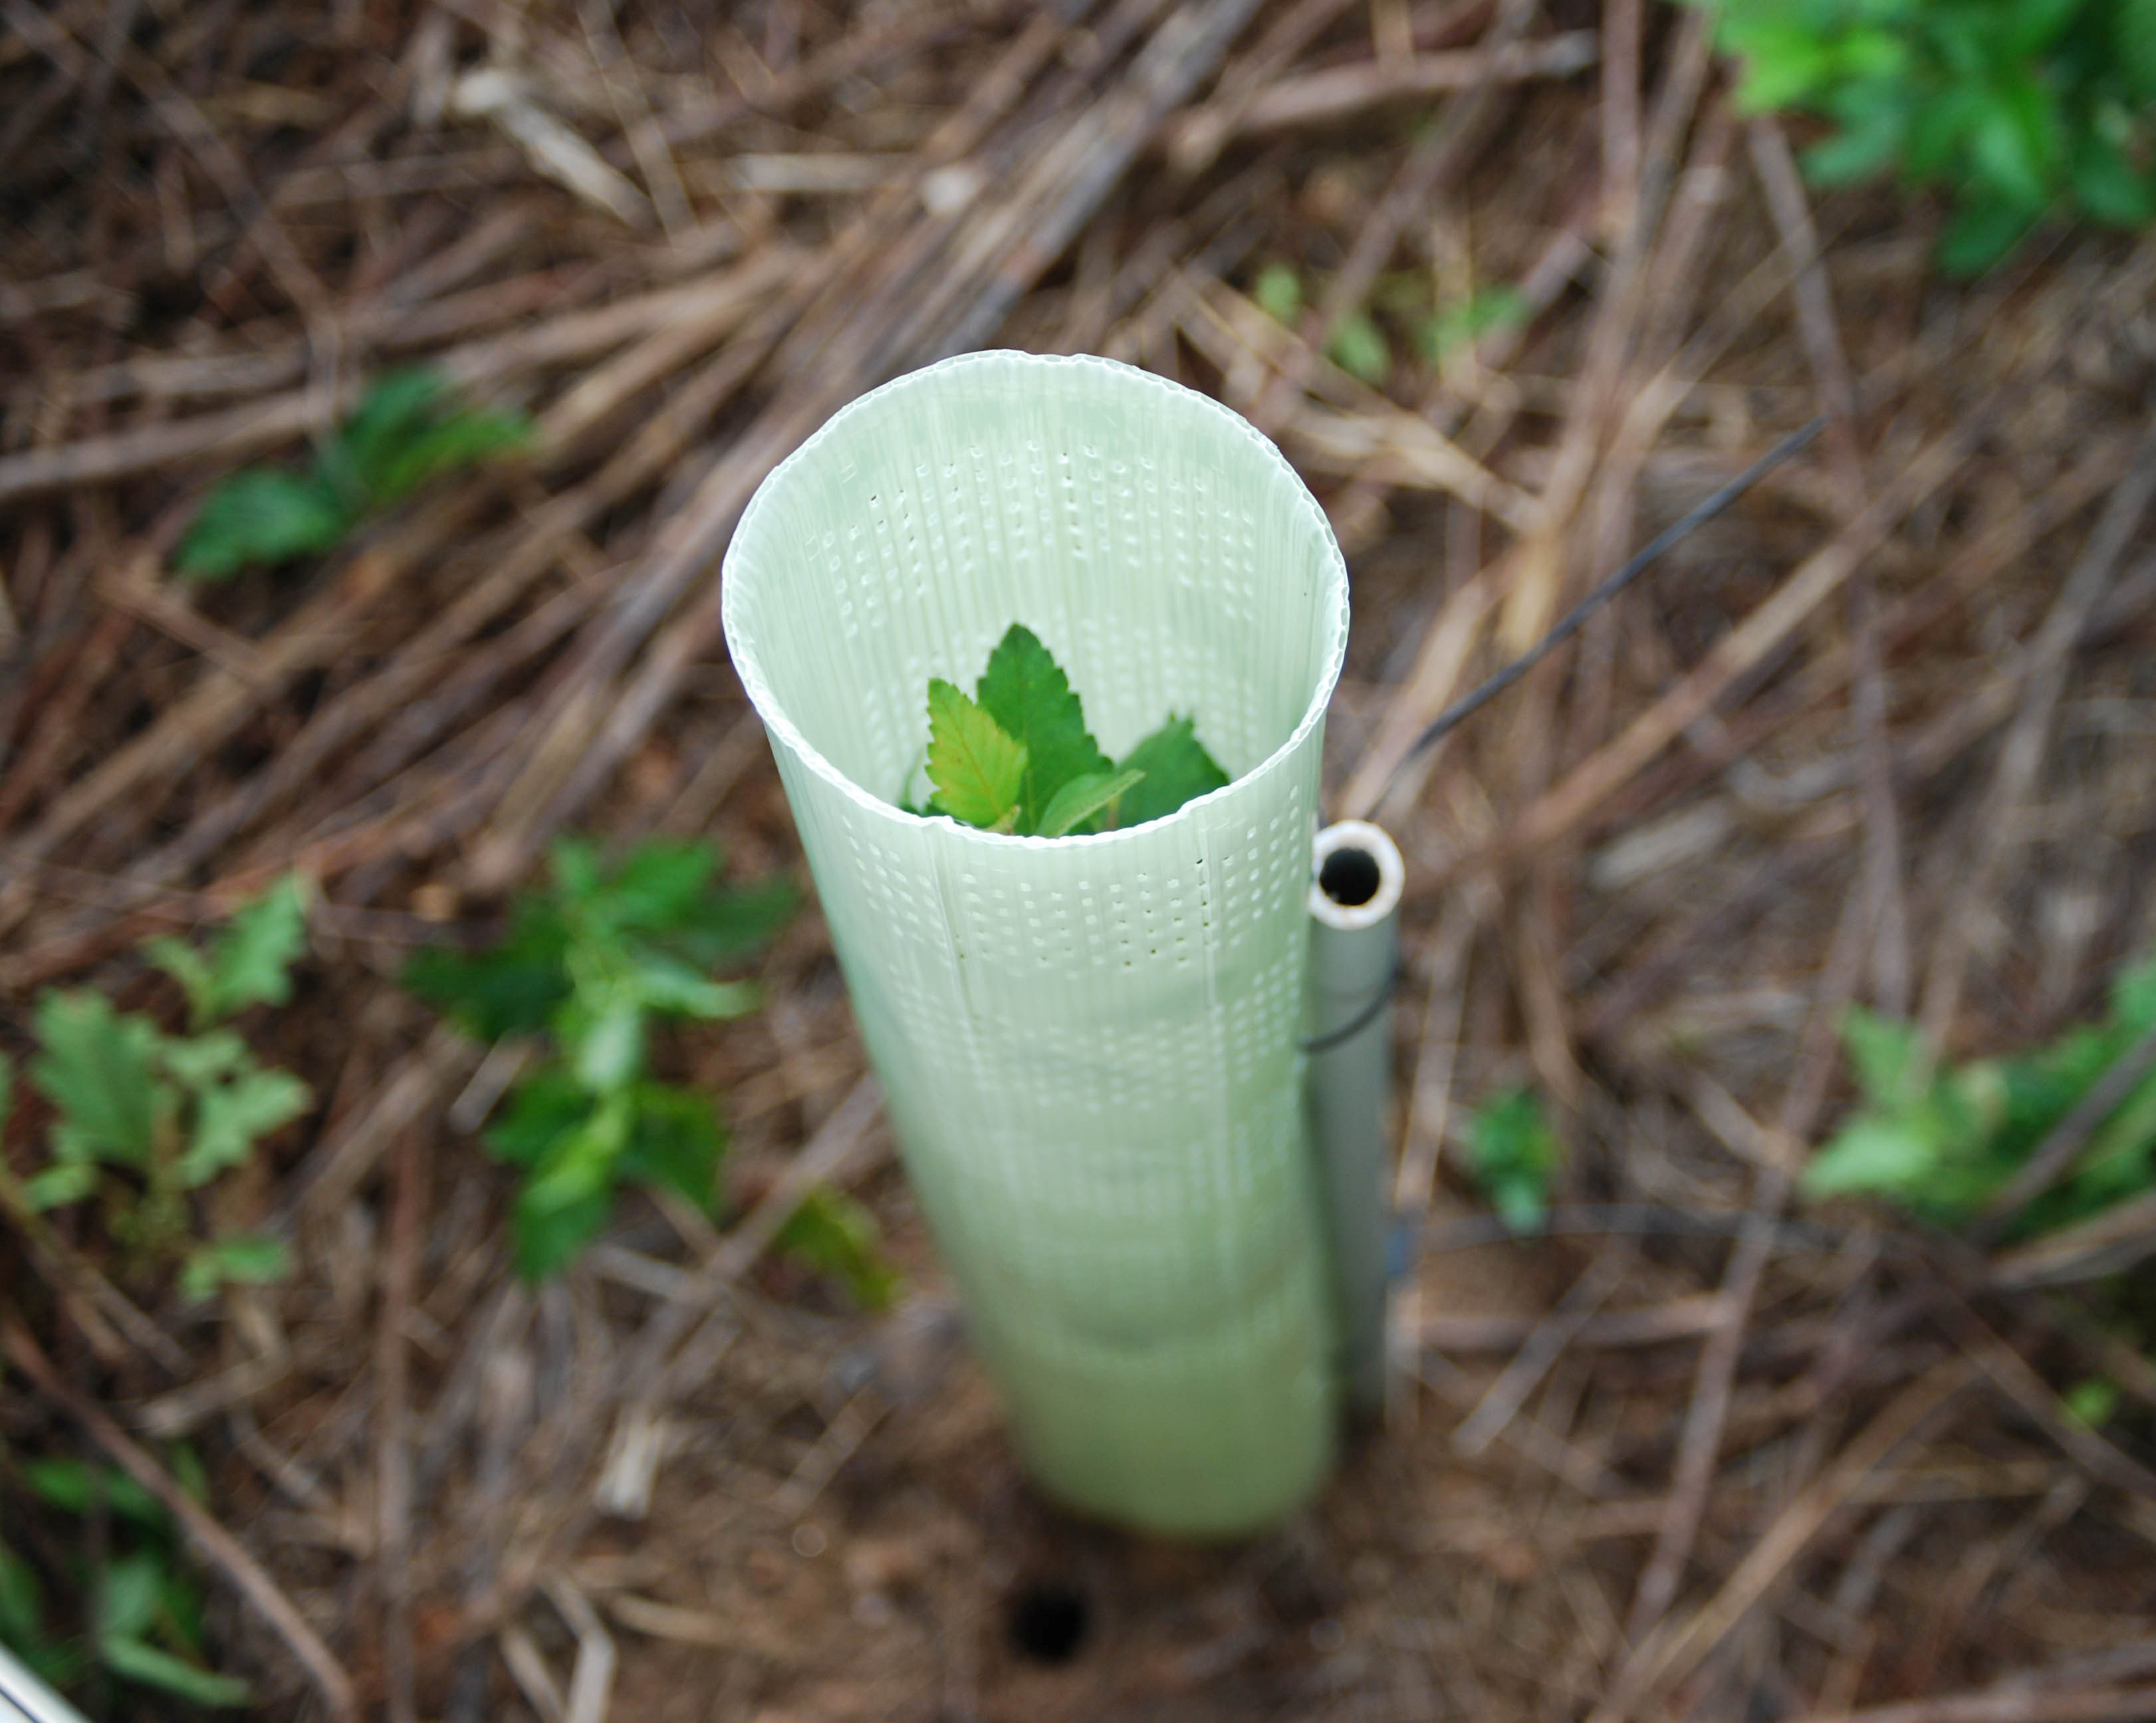
3) Gently lower the tree tube down over the seedling, looping the pre-threaded ties over the stake as you go. The stake sits on the outside of the tube.
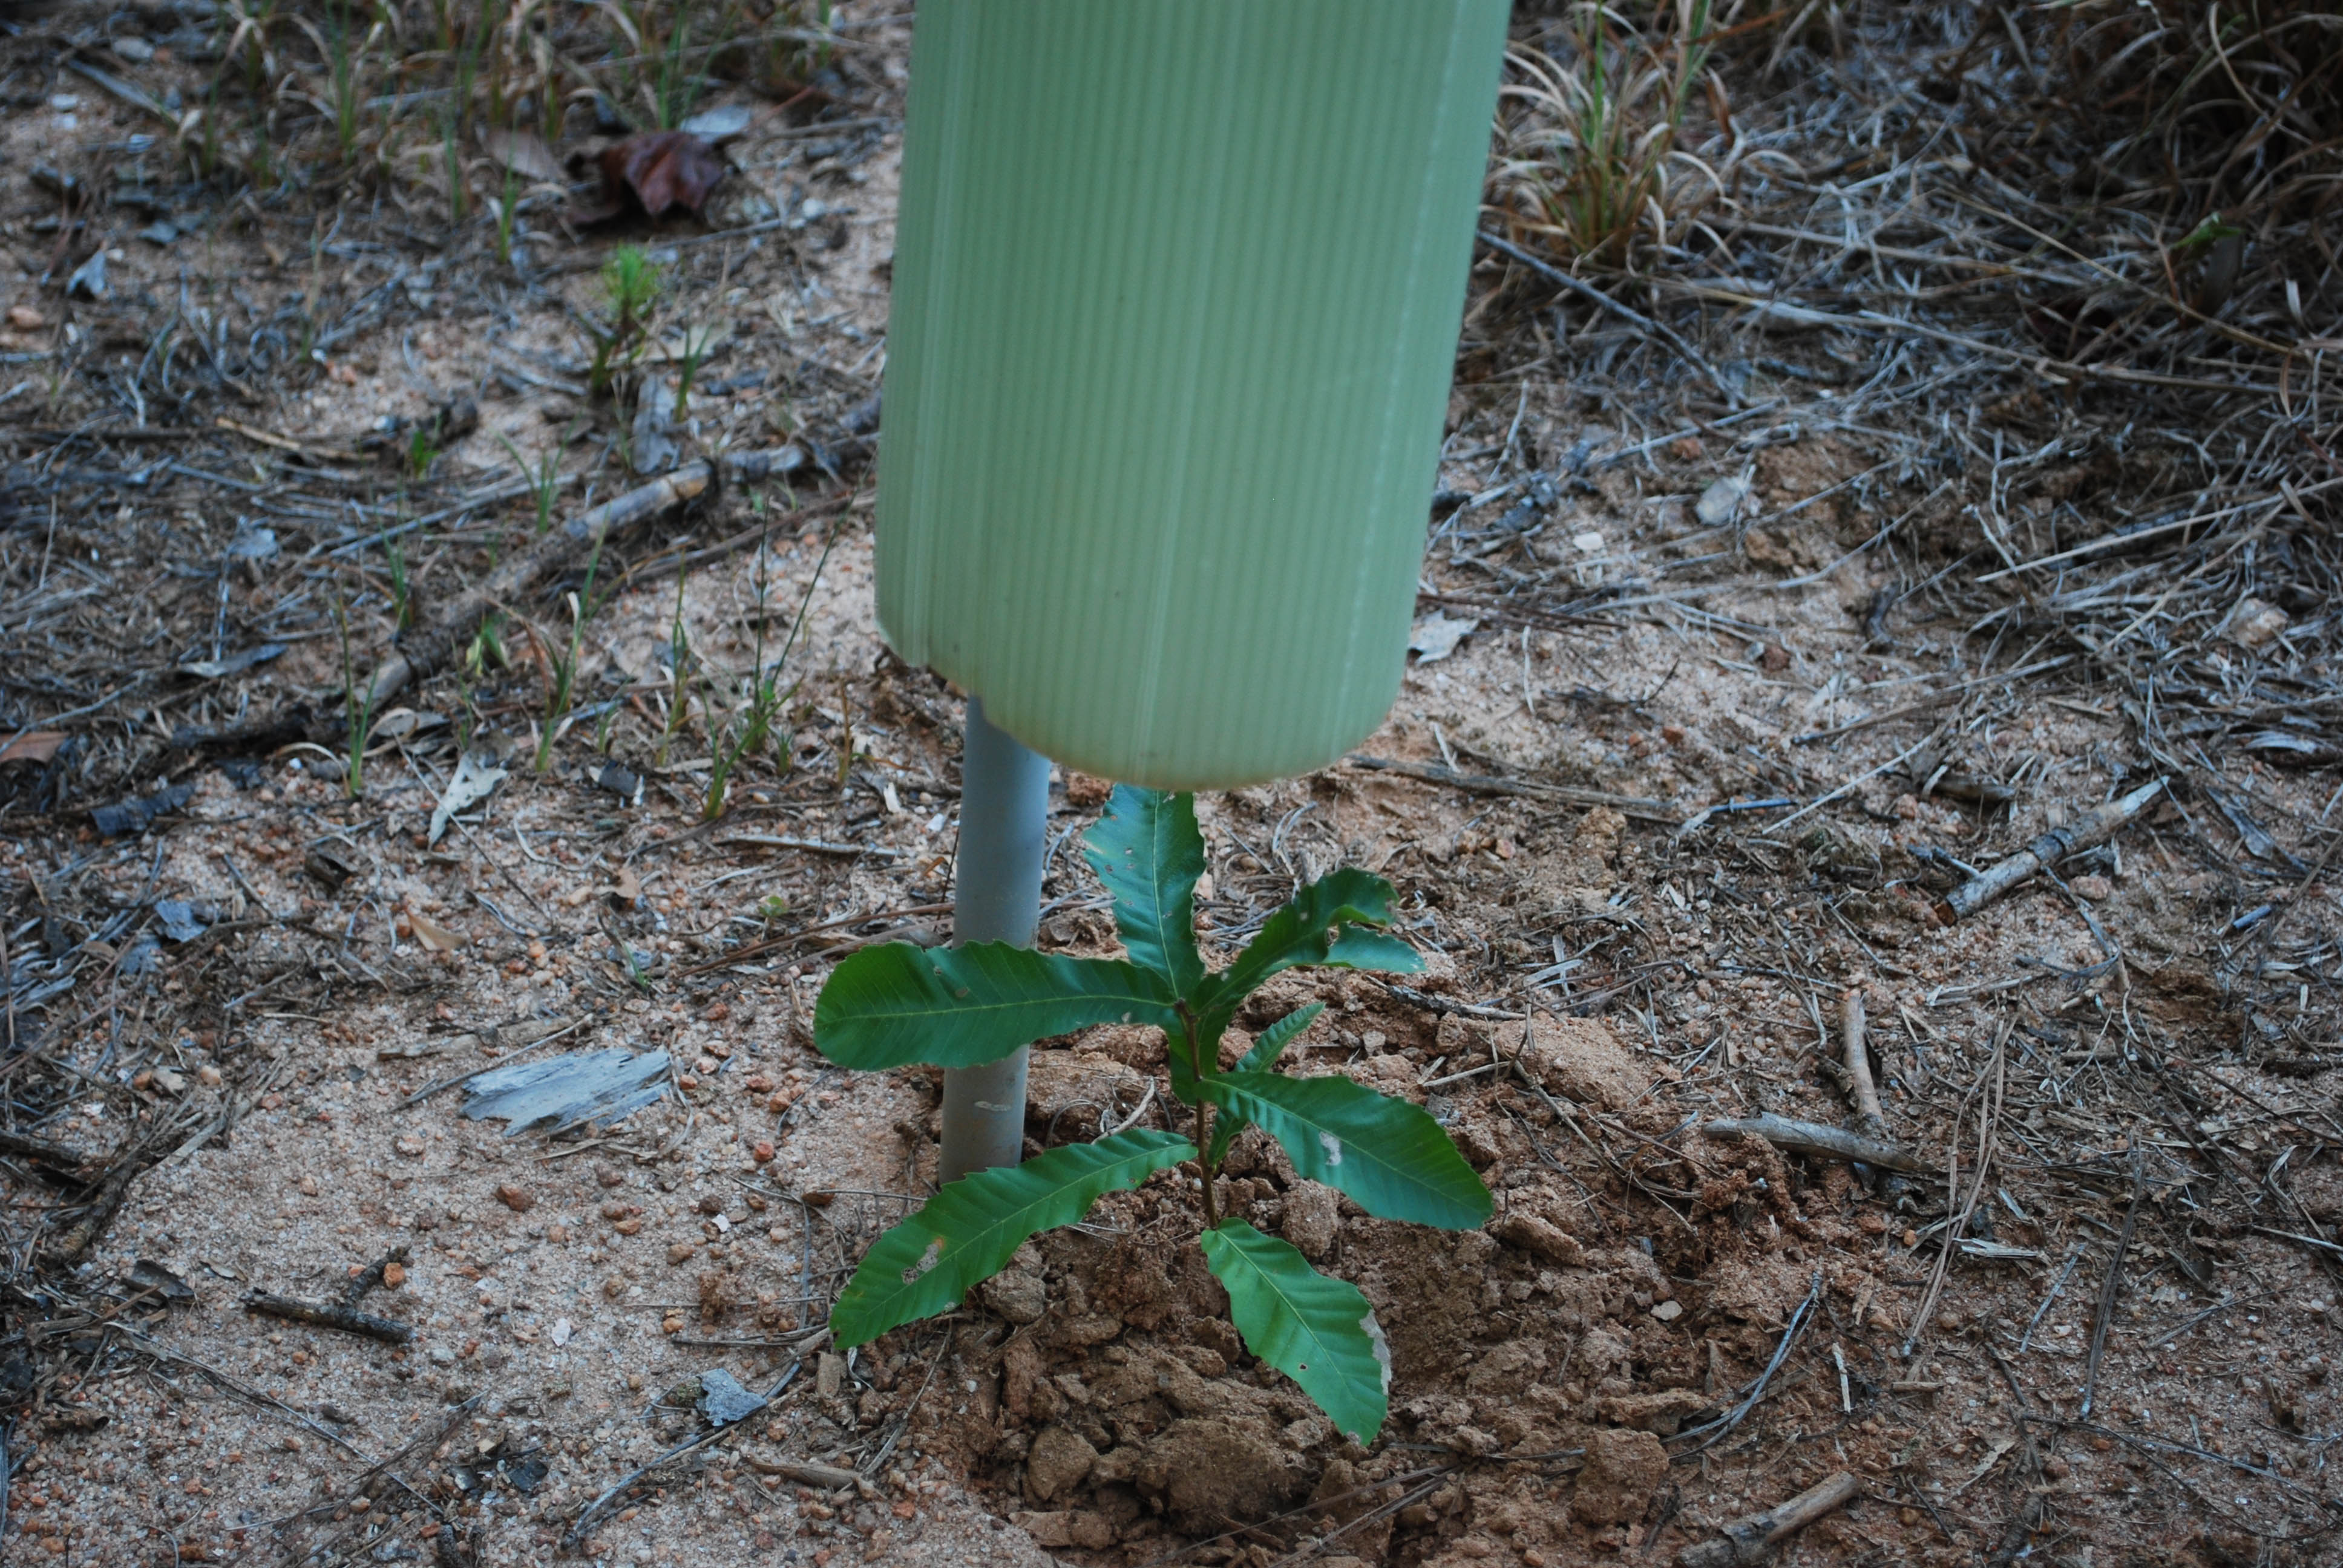
4) BEFORE cinching the cable ties tight, push down on the top of the tube so that the base of the tube sits 1/2″ to 1″ deep in the soil.
5) Cinch the cable ties tight.
6) Weed control, weed control, weed control! At this point we’ve done everything we can. We have gotten you the best tree tubes on the market at the best price, and the information you need to install them correctly. The rest is up to you. The best thing you can do for your young trees is to keep the area around them free of weeds, grass and brush that competes for limited light, moisture and nutrients. Luckily, our tree tubes make it easy to…
a) Locate your seedlings amidst the brush and weeds
b) Spray, mow, weed whack etc around your trees without damaging them
Note: When it comes to weed control, mowing/weed whacking reduces competition for light, but does nothing to reduce competition for soil moisture and nutrients. In fact mowing stimulates the growth of many grasses, making them even fiercer competitors for site resources. When we say weed control we mean weed removal, either by means of spraying, use of weed mats, or application of organic mulch material.
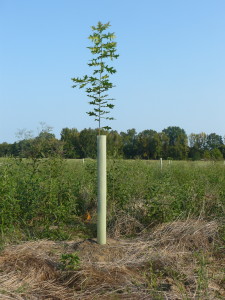
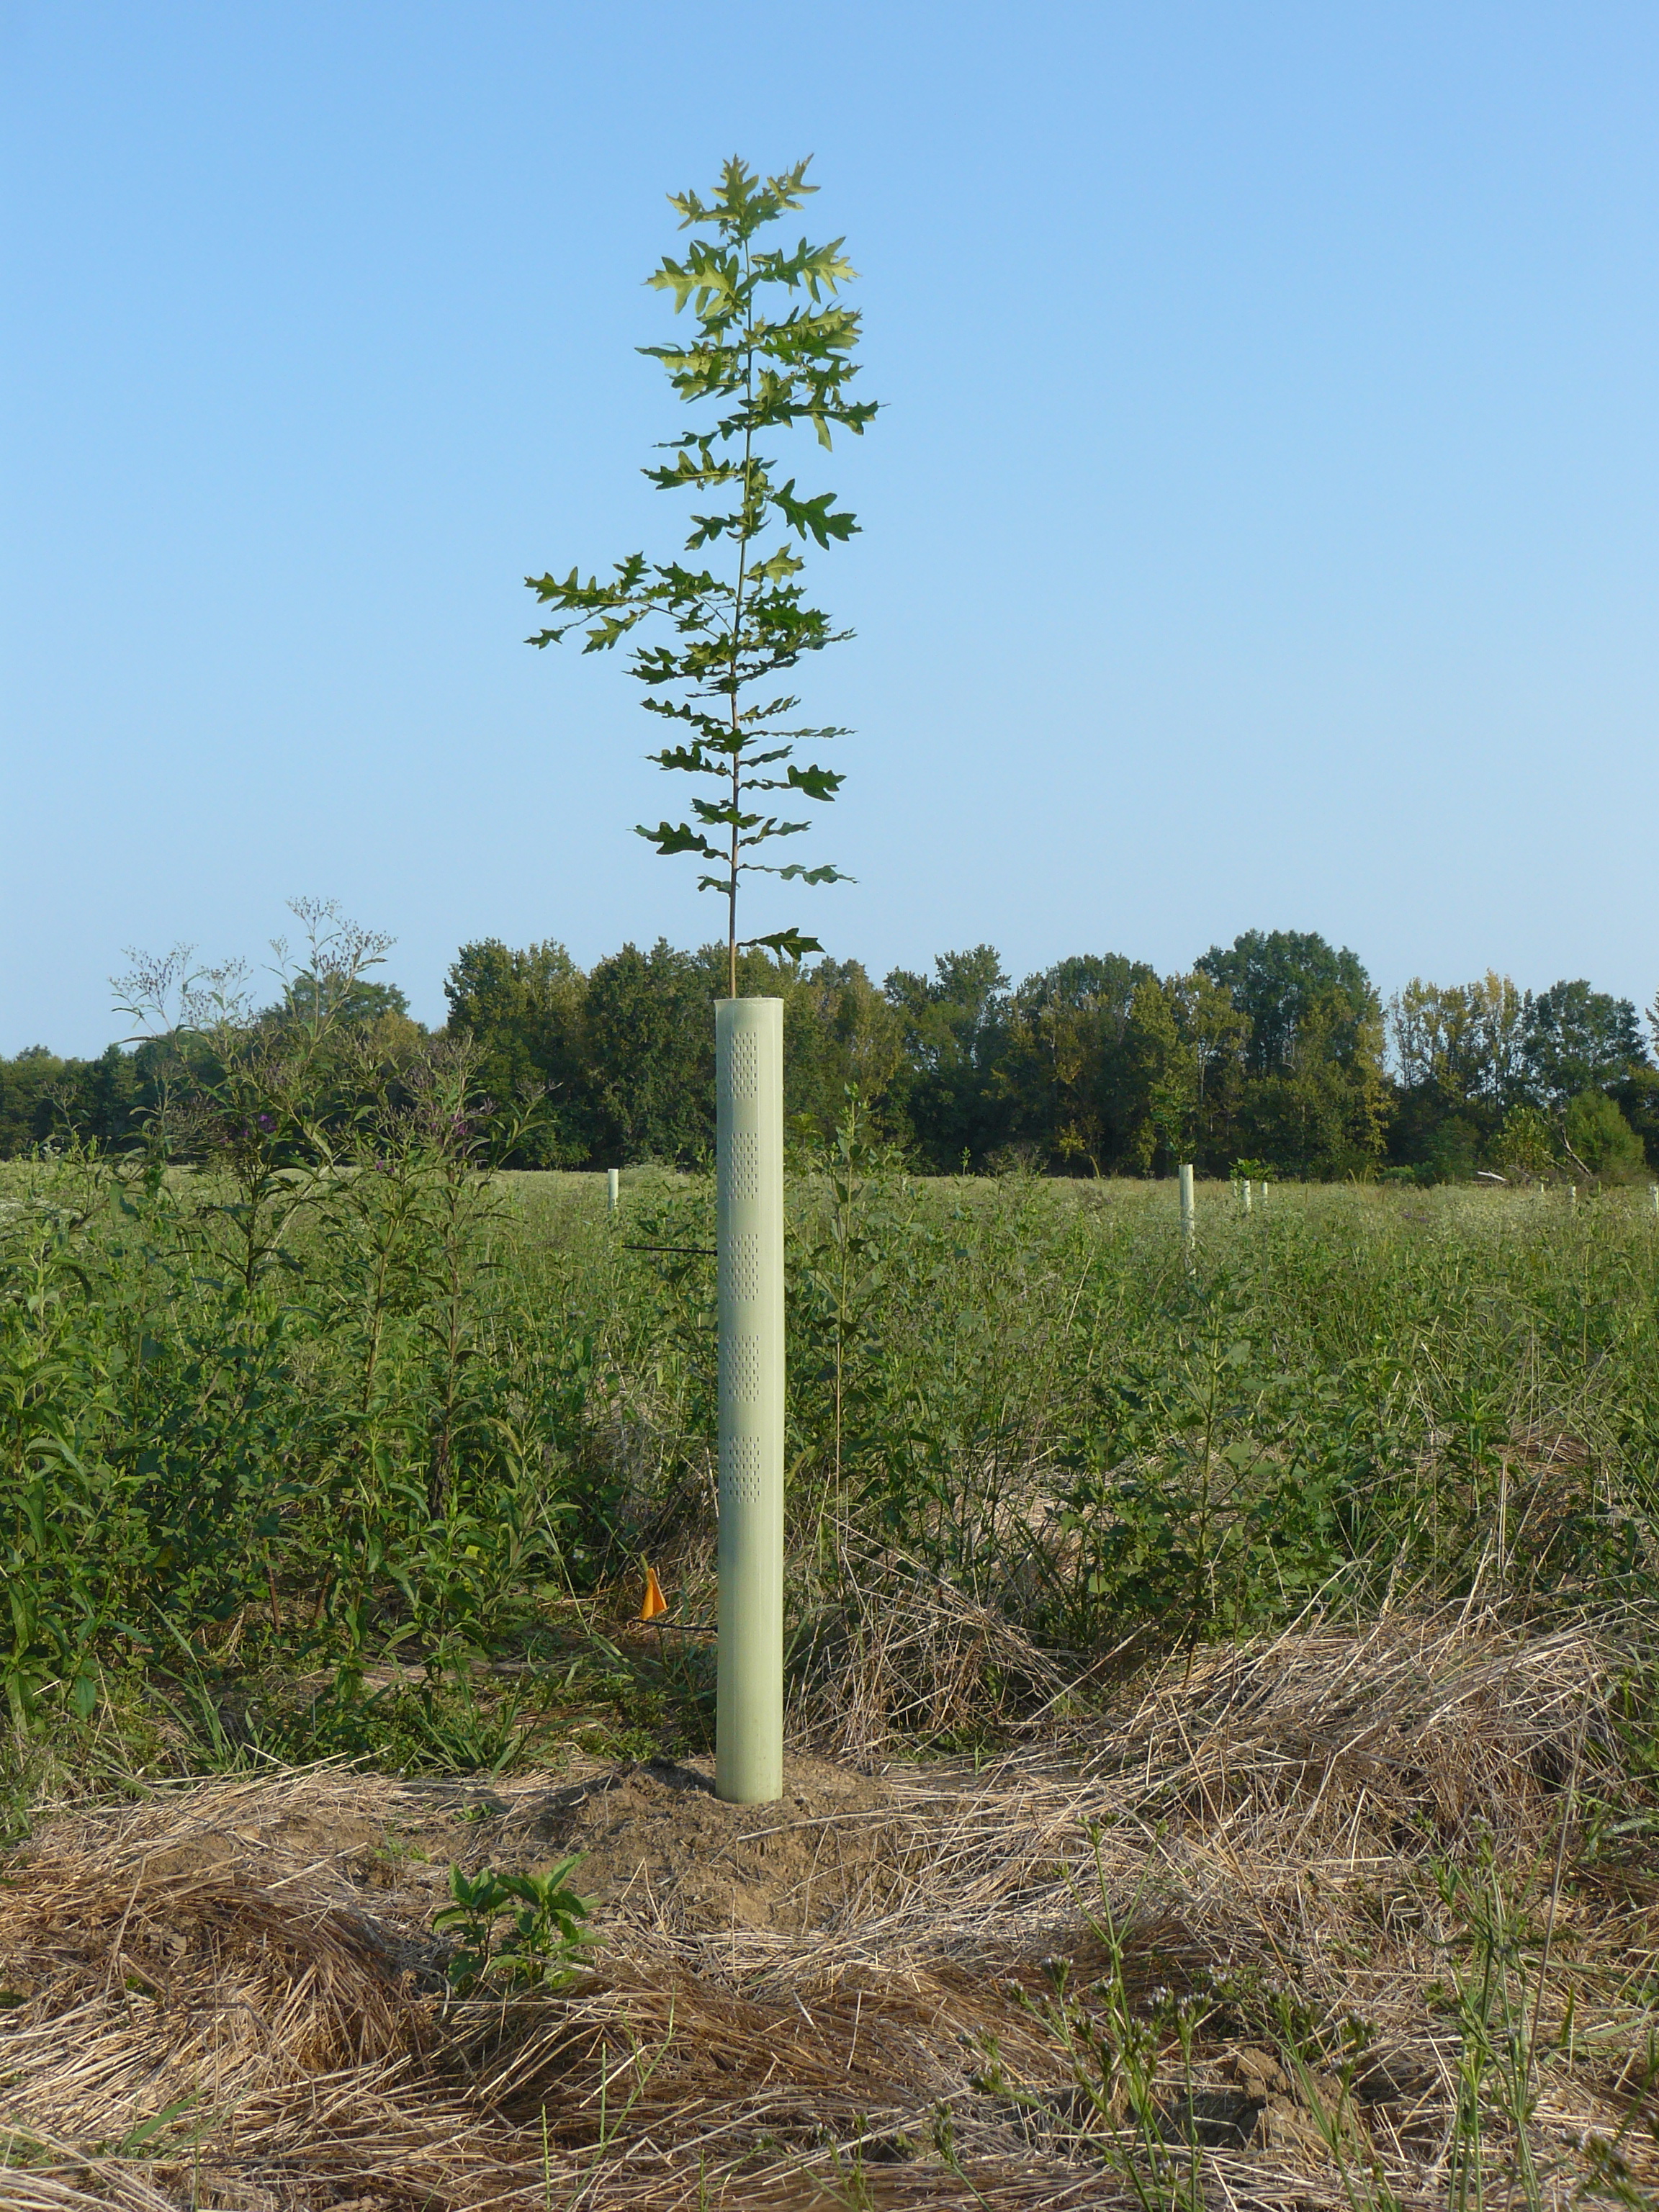
- Your trees will look like this in no time!
TIPS & TRICKS
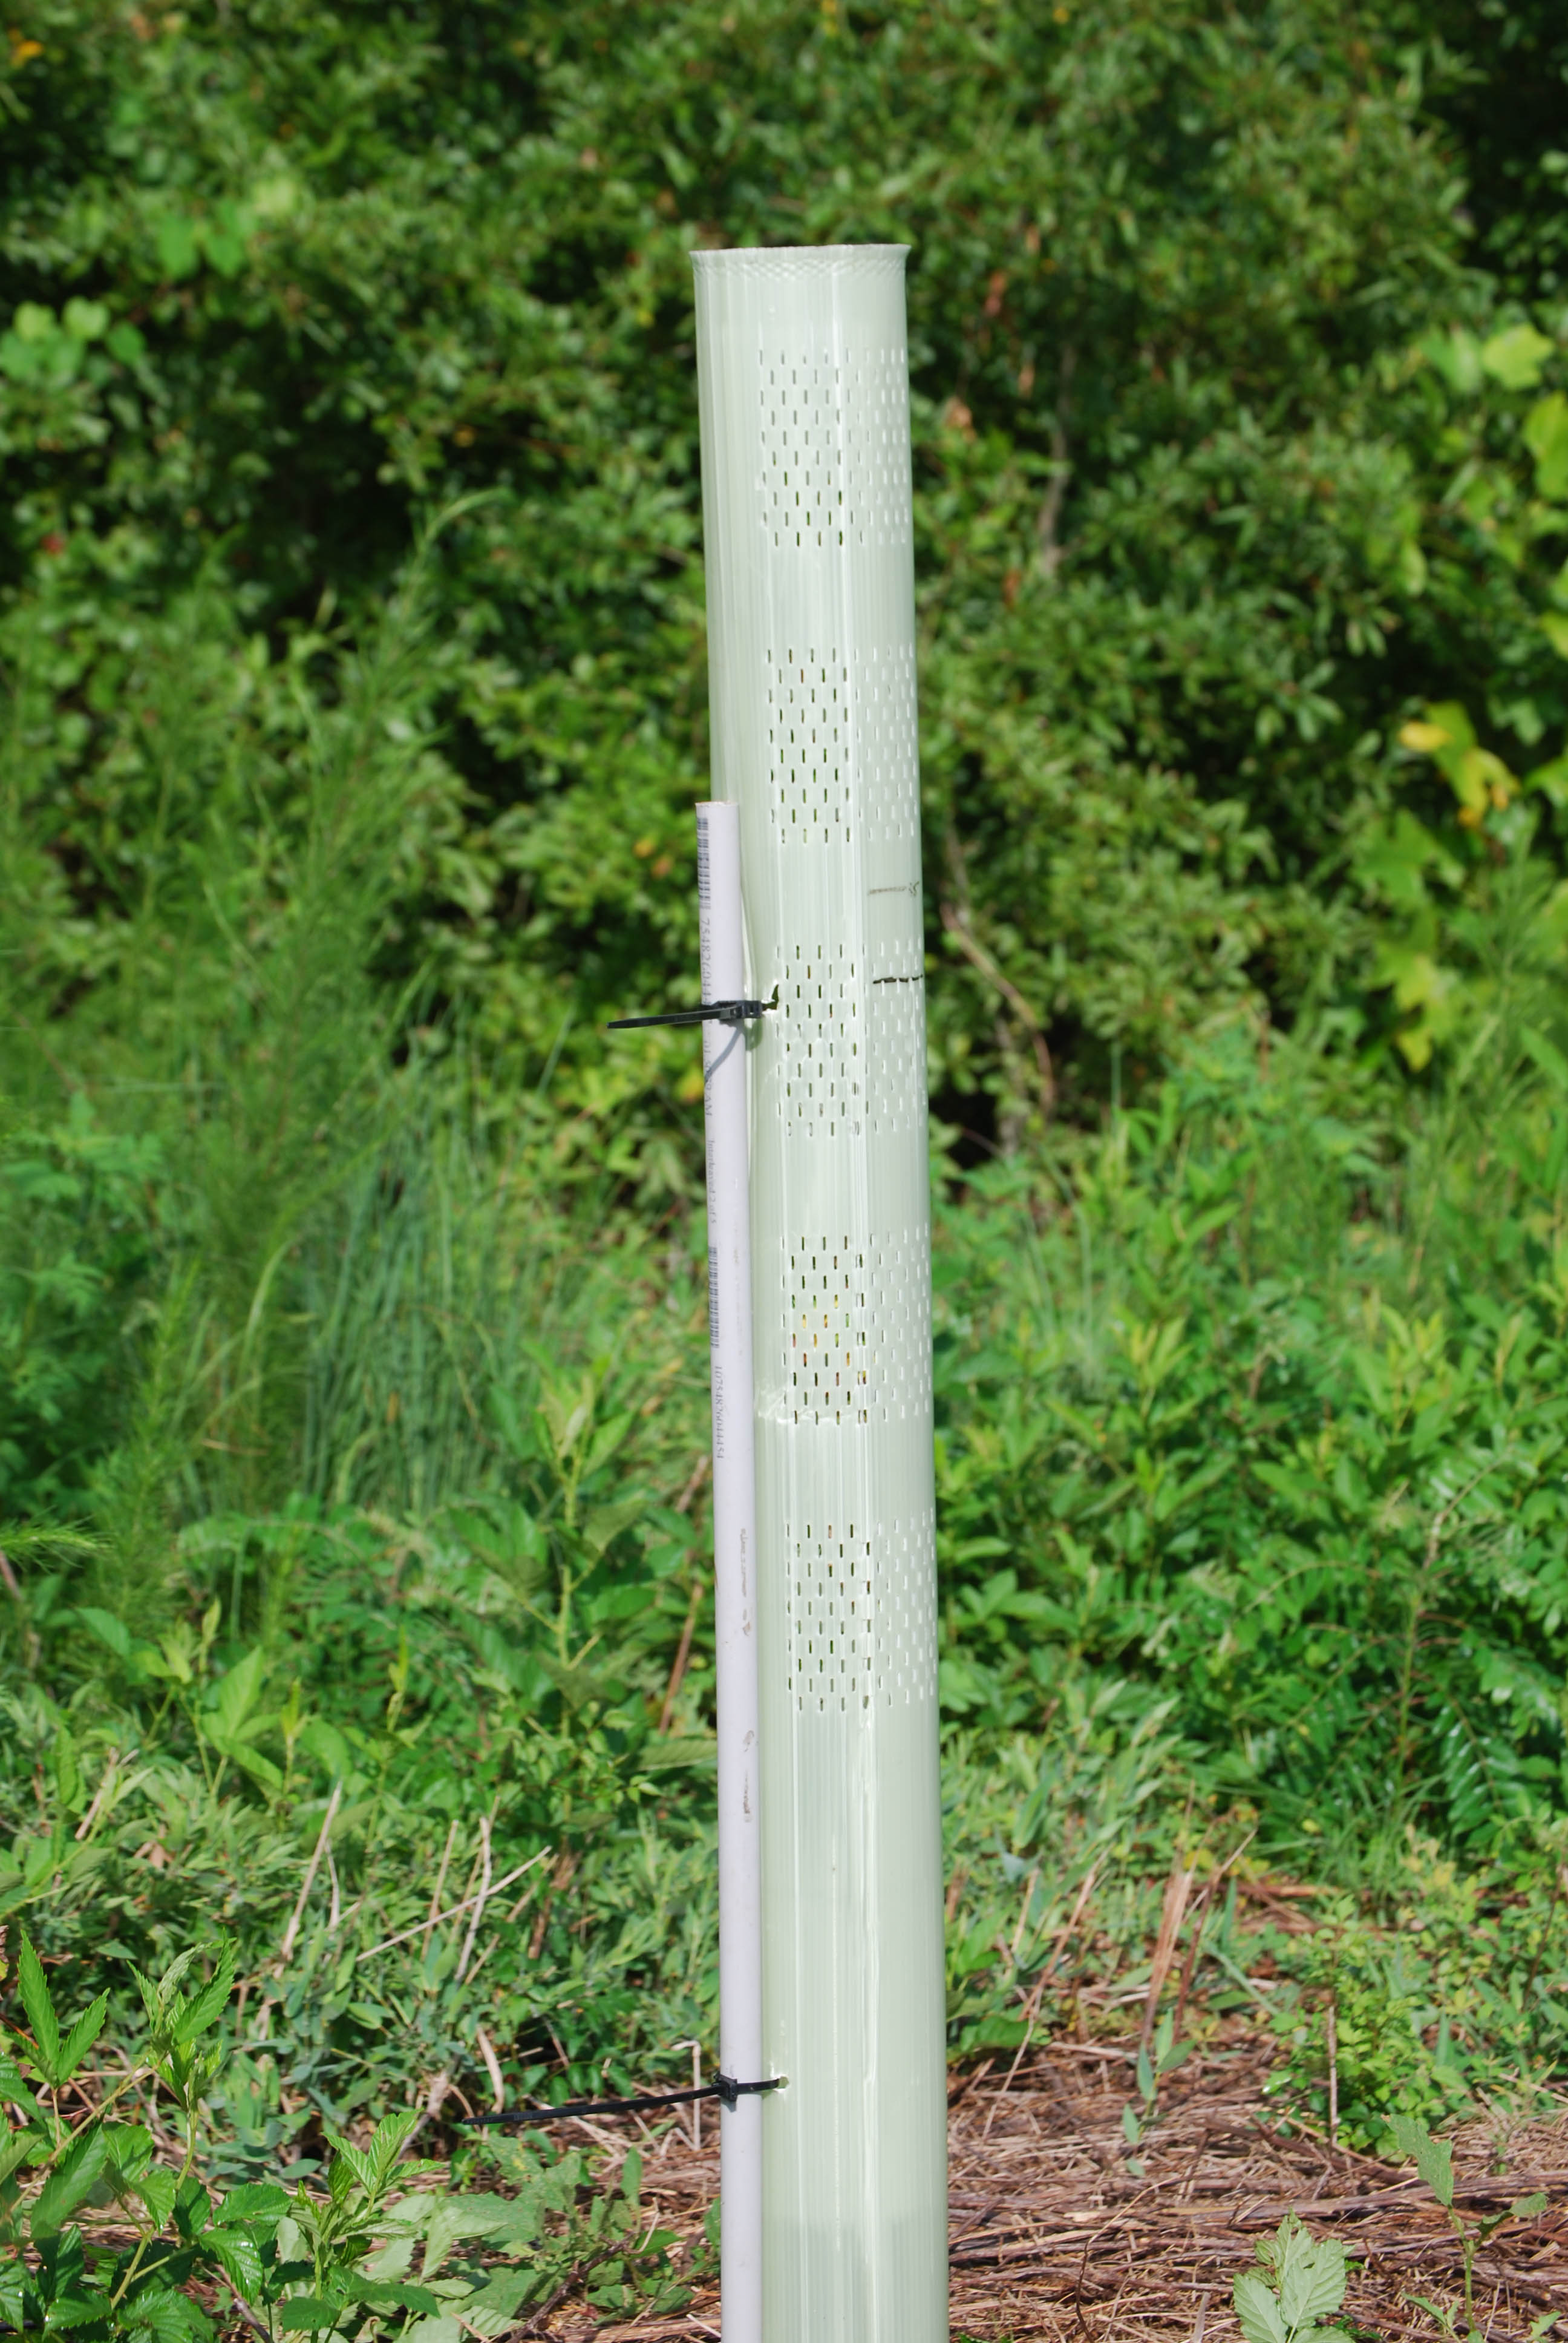
Tip #1: The very best tree tube stakes are located in the electrical section of your local hardware store: 1/2″ Schedule 40 PVC electrical conduit make the best tree tube stakes we have found.
Other suitable stake materials are: Decay resistant wood such as white oak, rebar, and 3/8″ fiberglass rod.
Note: On compacted or rocky soils PVC stakes might not be able to penetrate the soil. White oak or rebar stakes might be necessary. On sites prone to flooding use PVC stakes that are 1ft longer than the tree tubes so you can drive them farther into the soil.
Tip #2: When driving PVC stakes into compacted, dry or rocky soils, here’s a trick: Take a 1″ diameter piece of PVC pipe and cut it 1 foot shorter than your stakes. Use this as a “driving collar.” Place the driving collar down over the PVC tree tube stake until both are flush with the soil. Hold the driving collar while pounding down on the stake with heavy hammer. The driving collar will keep the PVC tree tube stake from wiggling while you pound it, and will channel it straight into the soil. Works great!
 Tip #3 (for advanced growers): Drive the stake to the north side of the seedling, so that it won’t shade the seedling during the day. This probably doesn’t make a huge difference, but every drop of golden sun in precious, so no sense wasting a single ray by having it blocked by the stake!
Tip #4: The cable ties on Tubex Tree Tubes are set made so that the tail can be double back and inserted through the notch in the head of the tie. This keeps the ties locked tight, and reduces the risk that curious/hungry/crazy deer will bite and pull on the ties (it happens). For added protection against deer gnawing on the tails of the zip ties, insert the tail of the tie into the tie hole – the the tail of the tie is inside the tube.
Tip #5: (for advanced growers): After doubling the tail of the tie back through the head of the tie, insert the tail into the tube through the tie hole. This makes it impossible for curious/hungry/crazy deer to gnaw on the tie!
Finished! Now do your weed control and watch your trees grow!
When to remove Tree Tubes
It is recommended that tree tubes not be removed until the trees are about 3 inches in diameter at the base.
The most common error made by tree tube users is removing the tree tubes too soon. The job of the tree tube is not complete when the tree pokes that first leaf out the top!
A tree tube serves three vital functions during the establishment of a young tree: 1) Protection and accelerated growth, 2) support, 3) continued bark protection.
When the tree emerges from the tube chances are the stem will not be strong enough to stand on its own. The trunks of trees just emerging from tree tubes are much more stout now than they were in past, thanks to vented tubes and flexible pvc stakes. However, the tree has been focusing on upward growth, and the trunk is still quite thin relative to its height.
So the second function of the tree tube is to support the trunk after the tree emerges from the tube, until it become thick and strong enough to stand on its own.
Even after the tree is self supporting the tree tube continues to provide the benefit of bark protection. Bucks love to rub their antlers against springy, whippy young trees, scraping the bark and sometimes snapping the tree off completely. Rodents gnaw on the bark of young trees, sometimes girdling them completely. Tree tubes protect the bark of your valuable young trees until the bark has a chance to thicken up and serves its role as the tree’s armor.
So, again: We recommend that you leave the tree tubes on until the trees are 3 inches in diameter at the base.
“Can I re-use tree tubes?”
This is a common question we get all the time, and it’s natural given the fact that we all want to establish as many trees as we can within a limited planting budget. The answer is yes, you can – but you have to way the risks and rewards.
There are two ways to re-use tree tubes.
1) Remove the tree tube right after the tree emerges. Tie the tree to the stake for support.
Since trees typically emerge from tree tubes in the first or second growing season and tree tubes typically last about 8 years, in theory this method would allow you to use each tube about 4 times.
Risks: This method exposes the tree to danger from buck rub and rodents for an extended period of time. Also, staking trees can cause deformities and long term health problems if not done properly.
2) After the tree emerges wait at least one year until the tree is self supporting and the remove the tube.
This method allows you to use each tree tube twice. However it has the the advantages of a) exposing the tender young bark to danger for a shorter period of time and b) eliminating the need to stake the tree – thus avoiding the potential problems that result from staking and allowing you to re-use both the tube and the stake.